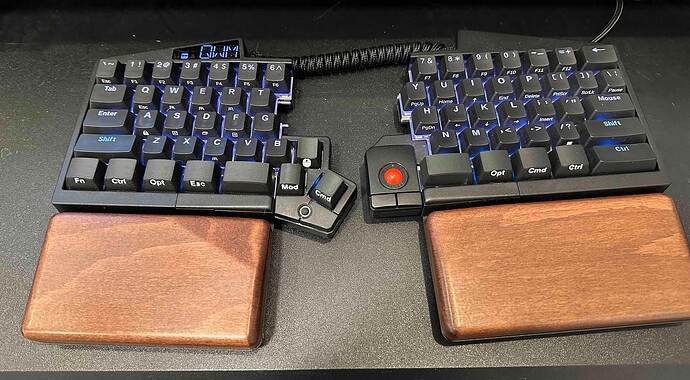
After spending a couple weeks optimizing the layers and modifier keys of my UHK (which I love, btw), I needed to print some new keycaps to reflect the new layout.
Generating the key cap STLs
I generated STL models of the needed keys using the open source KeyV2 model for OpenSCAD. I made the following tweaks to the model:
- Set “key profile” to OEM.
- Set “key length” and “row” (in the code panel) as needed, per UHK’s spec.
- Set “stem type” to
rounded_cherrywith a “stem slop” of 0.2, this gave a snug fit for my brown tactile switches. - Set “inverted dish” to true, because I prefer all the modifier keys to have a convex top
- Set “wall thickness” to 2
- Do not add any label text in the “legend field”, we will add this later in the 3D slicer.
Adding labels in the slicer
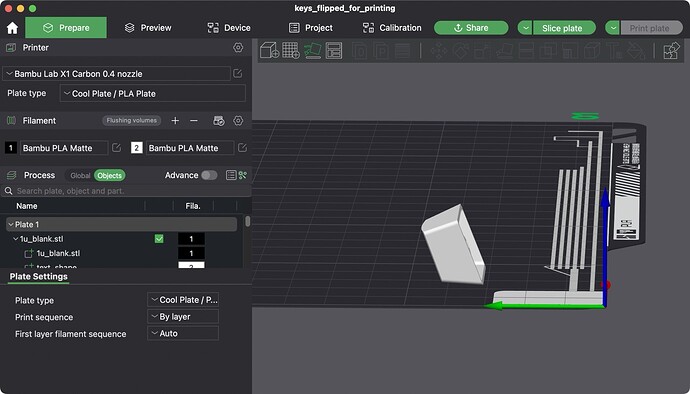
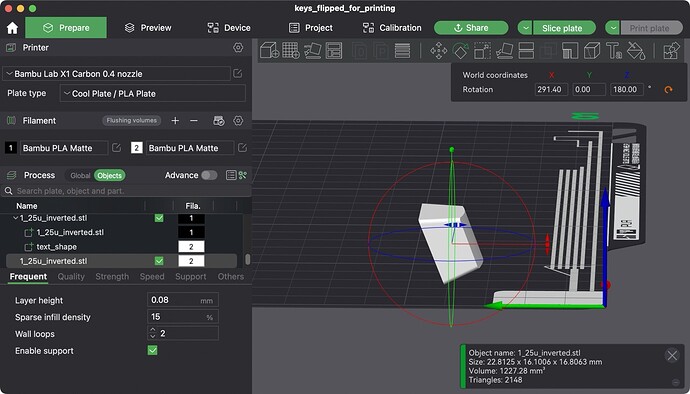
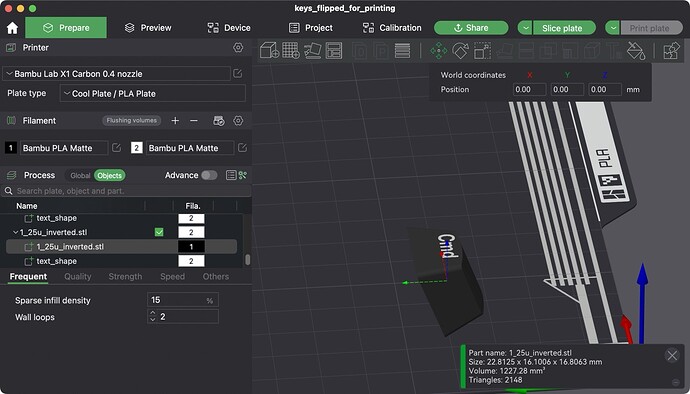
I am somewhat new to 3D printing, so this probably isn’t the most efficient workflow, but it did give nice results. I have a Bambu X1 3D printer so I use the Bambu slicer. Load the STL for a key into the program, then use the Auto Orient button to align the front face of the key cap with the print plane. Then manually rotate the model by 180deg so the front face of the key faces up.
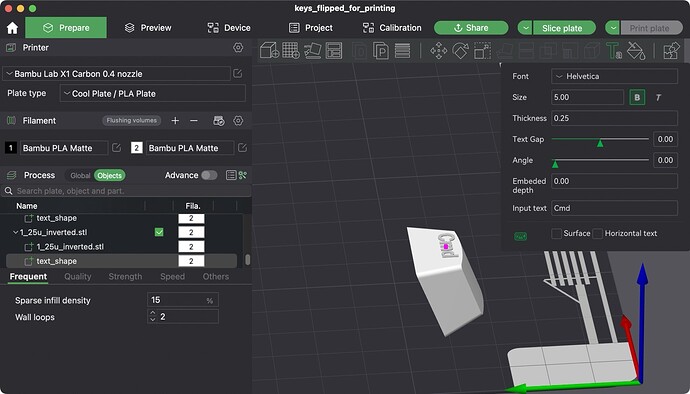
Then click the key cap, and click the Text tool to add a text label on this plane using the settings shown.
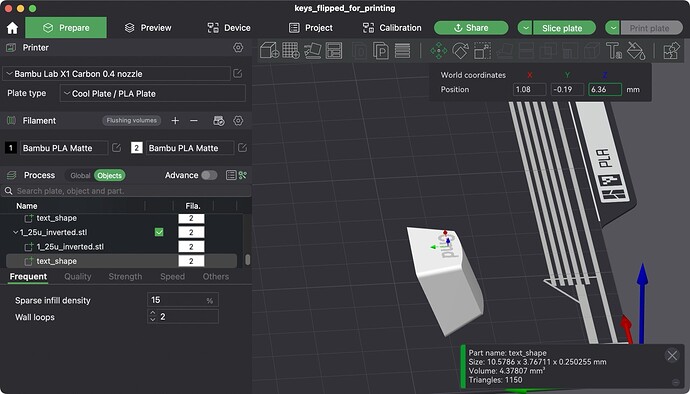
After adding the label, sink it to be flush with the front face of the key (i.e., reduce its z position by an amount equal to the thickness of the label)
Now set the key material to black, and the label material to white.
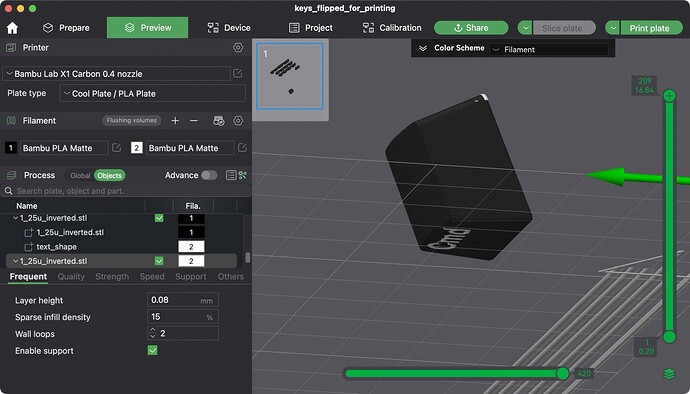
Lastly, rotate the combined model by 180deg so the label face rests on the print plane. After slicing, check that the label appears correctly on the bottom layer, and the bottom face is flush with the print plane (i.e., there should be no supports).
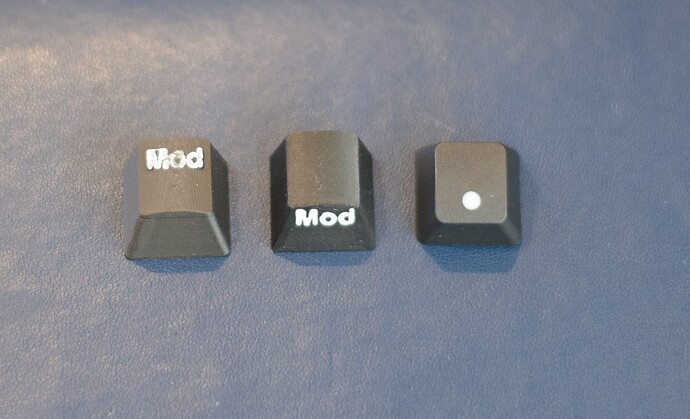
I printed at extra fine quality (0.08mm layer height). Here are the results (see modifier row and key cluster).
